
I was curious tonight…

Feeling a little exhausted after a full day of working in the trailer without heat.. working hard to keep body temp up as cold comes knocking on the door.. so rather than researching bike shops and eco orgs and stuff like that.. I decided to learn something.
Well, I didn’t learn the formula.. I mean, I understand it but I can’t repeat it.. but what it does is calculate your Distance to Horizon based on elevation above sea level.
So, off the top of my cabin.. if I was looking out the hatch at the world around me.. my Distance to Horizon would be about 4.5Km for a 9Km view circumference. And this is why I am adding in a 5M carbon/ fiberglass MAST…
moving the VIEWPOINT up by 5 meters (for a total of about 6.5 meters or 22′) my Horizon grows to 9.25Km.. or an 18.5 Km Horizon Circumference.

So, I’ll be running powered webcams.. the cameras used in racing drones that WiFi back to the headset.. they usually have an on- board power source (on the drone) but I’ll be running long power cables (why cabled power? simple: USB has a max run of 5M before you add in a powered booster.. the mast is 5M.. so, needing a teensy bit of cable to run from the mast top to the camera, I’m already at 5M MAX… but POWER can run longer… so, the camera config is WiFi but the power is controlled inside the cabin).. four different ANDROID tablets (‘cuz mac tablets don’t let you use external webcams) connecting to four different web cams that overlap in view but are 5M above the upper deck of TheBoat.. so I’ll have nearly 20Km of view.
I’ll be sitting there in an extreme recumbent position.. tablets blazing my approach and where I been.. and I’m doing this to motivate 1 Million Cars to PARK!!!!
![]()
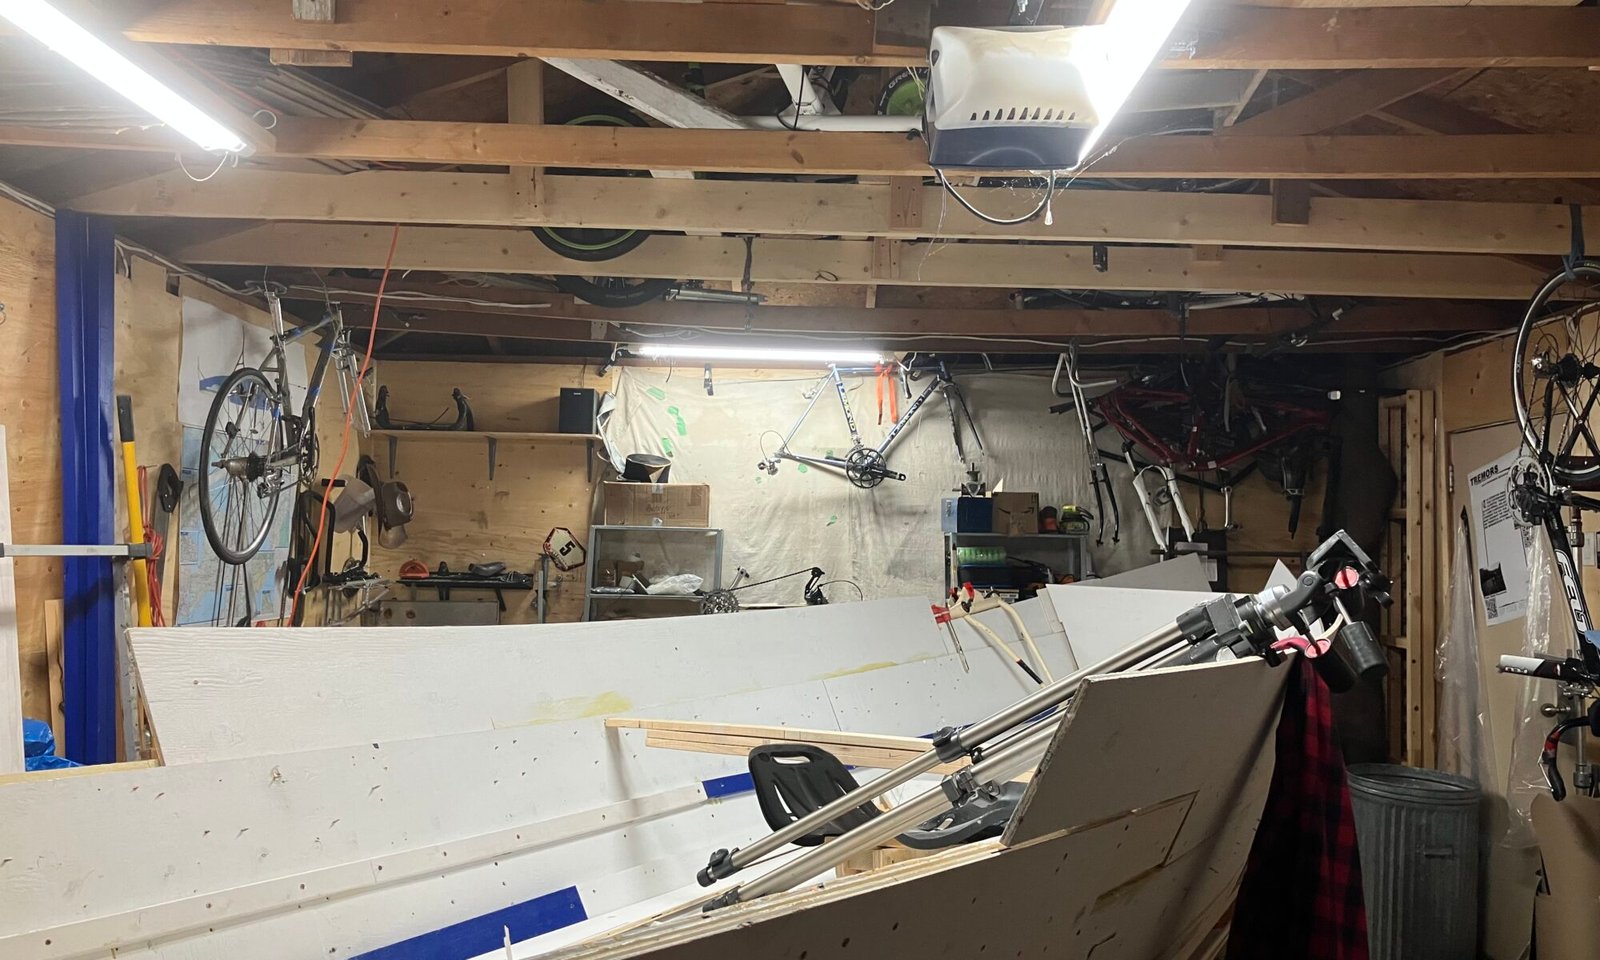


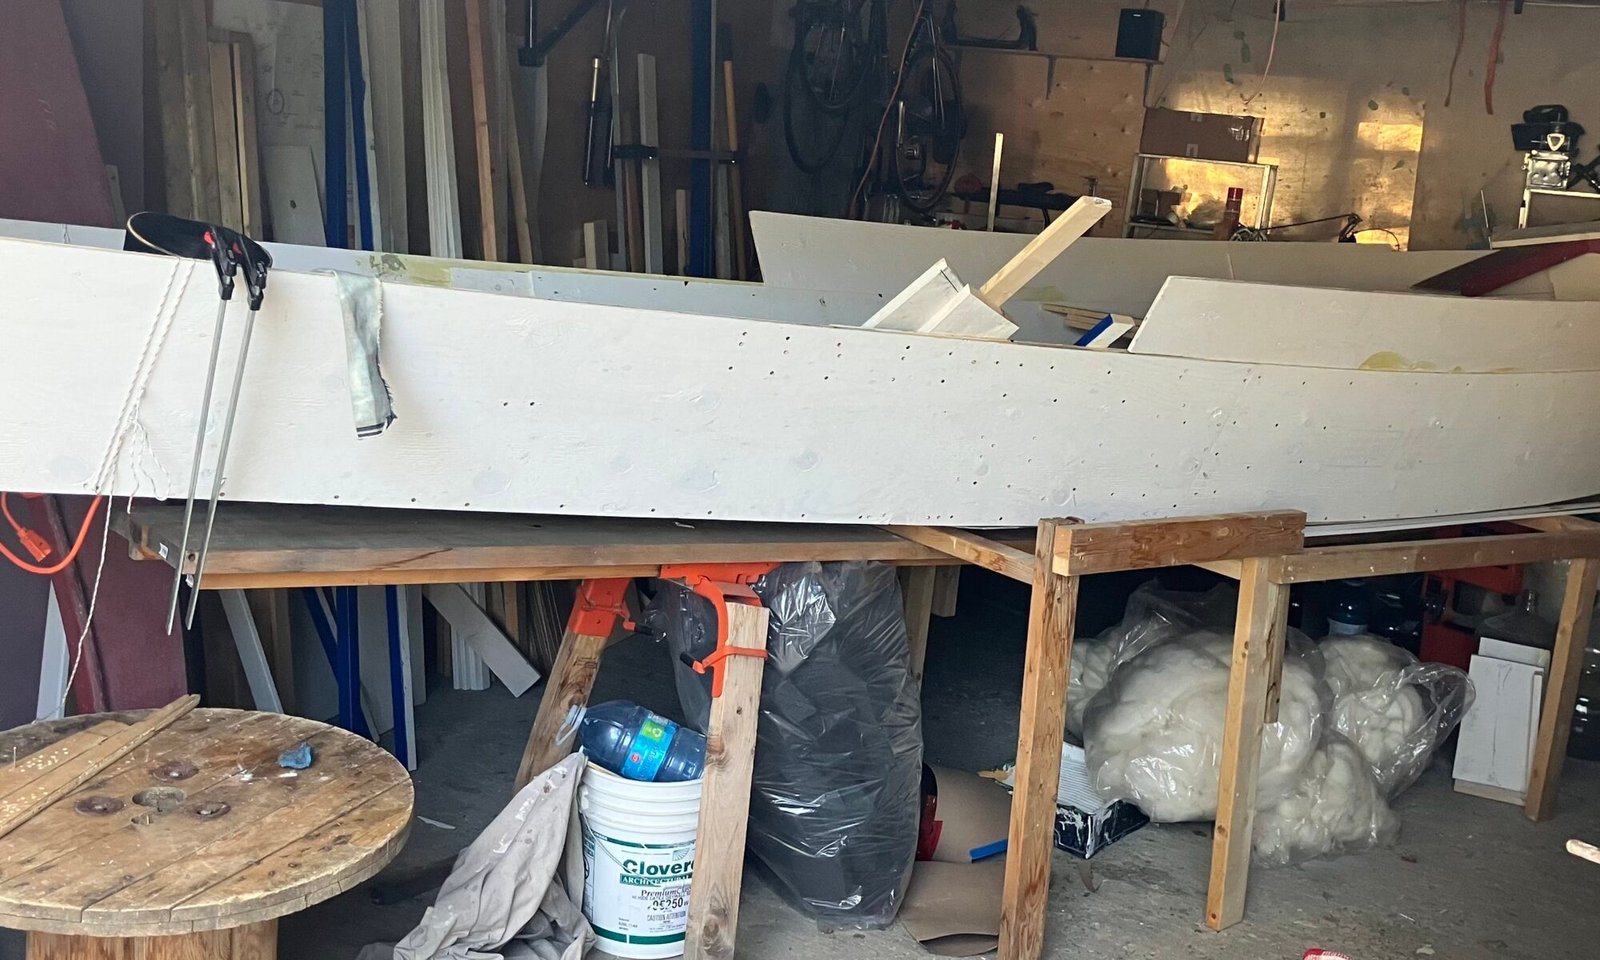
 I decided to “shore up” the supports.. they call the thing you build a kayak on (or maybe any boat.. not sure) a “StrongBack” and mine isn’t all that strong. I’m a graduate of the construction industry school of thought that says “close enough” and well.. I picked up a pair of “brackets” that hold a couple of 2×4 pieces and you can add in some cross pieces (you can see them in the photo) that’ll create a sort of table. I haven’t really checked in on mine since I loaded it with TheBoat until today.. but the wood is warping a bit 😉 Nothing serious.. just not “straight” so, this boat will be a floating work of art, I guess.

 This thought is brought about by reports that the Cruise Industry is HORRIBLE for dropping waste before they come in from International Waters.
